This feature requires an Enterprise plan with the Events feature added.
Any space in your virtual venue can include a virtual stage, which is ideal for events that include a one-to-many presentation, such as an internal company town hall or a live performance.
Any venue admin can present on the stage in any space. Read how at How to change permissions for the attendees in your venue.
There are three ways to present to a stage within a venue space: directly within the space window, with a third-party encoder, or with our web-based production tool. This article will guide you through the use of all three methods. If you're unsure which option is best for your event, we have some setup best practices to help you make an informed decision.
In this article:
- Share screen
- Present via RTMP
- Present via browser-based production studio
- Present yourself on camera on stage
- Share Vimeo videos on stage in your Venue events
- Who can share videos
- Available video library
Share screen
This method is best for ad-hoc presentations, such as sharing your screen during a team meeting.
To present within the venue space:
-
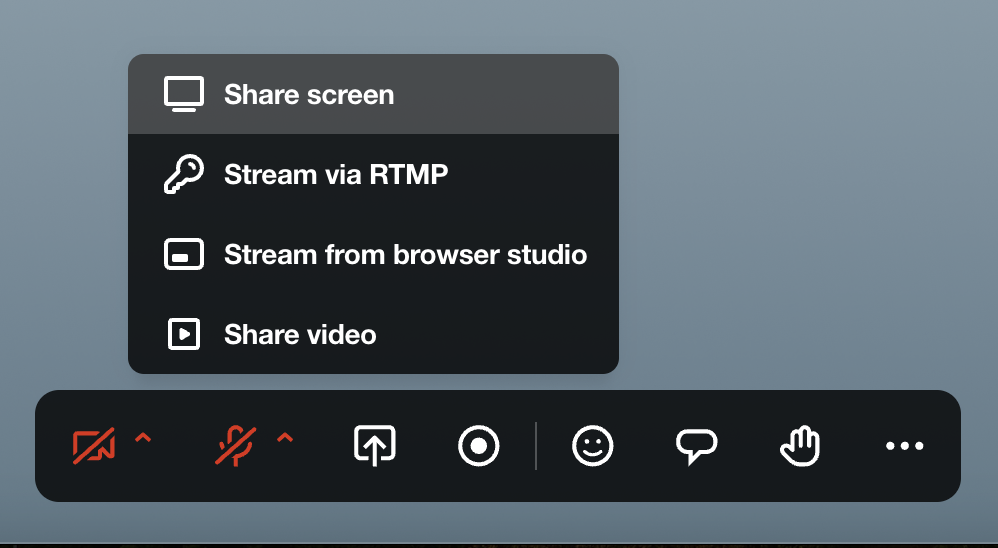
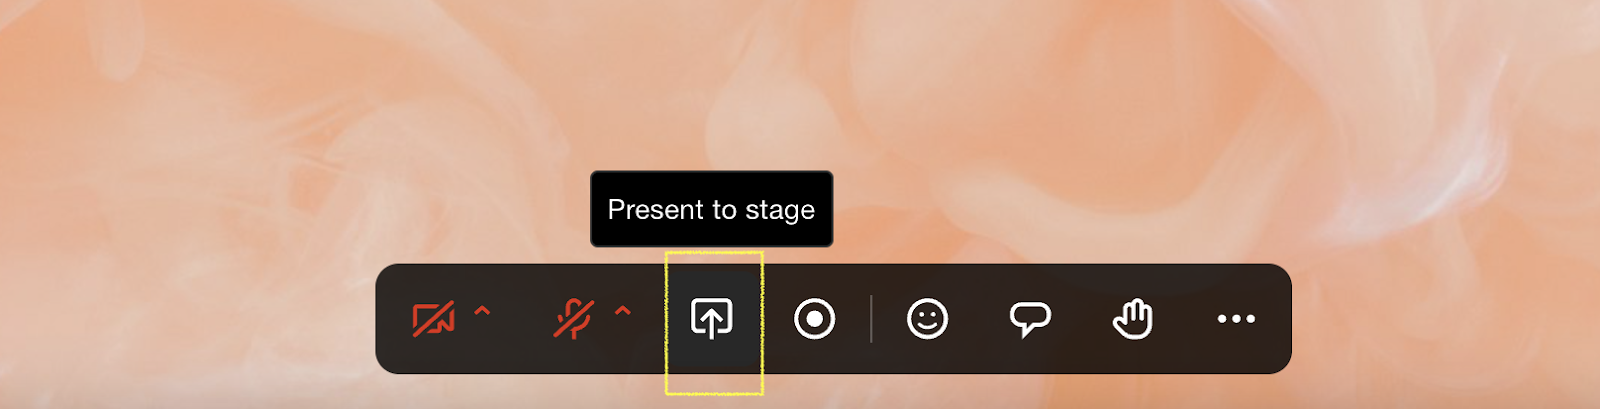
Navigate to the Present to stage icon and select Share screen.
-
Your presentation selection will appear in a live player for your audience within that venue space.
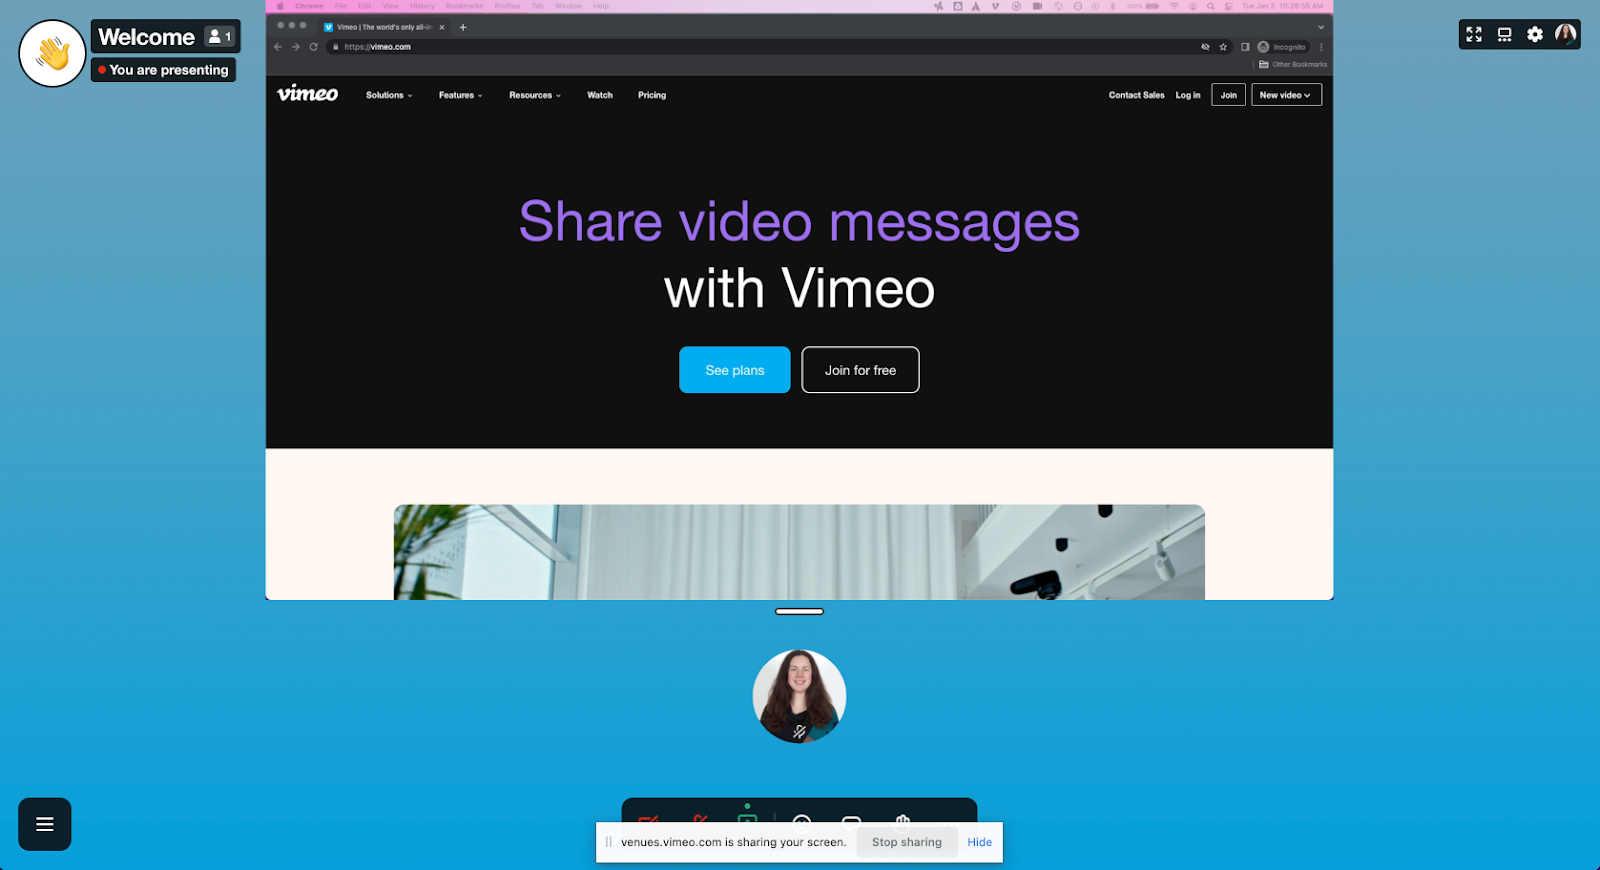
As the presenter, you may be switched to the picture-in-picture view setting to prevent an undesired mirror effect. You will also see a You are presenting notification at the top of the venue space.
To stop presenting:
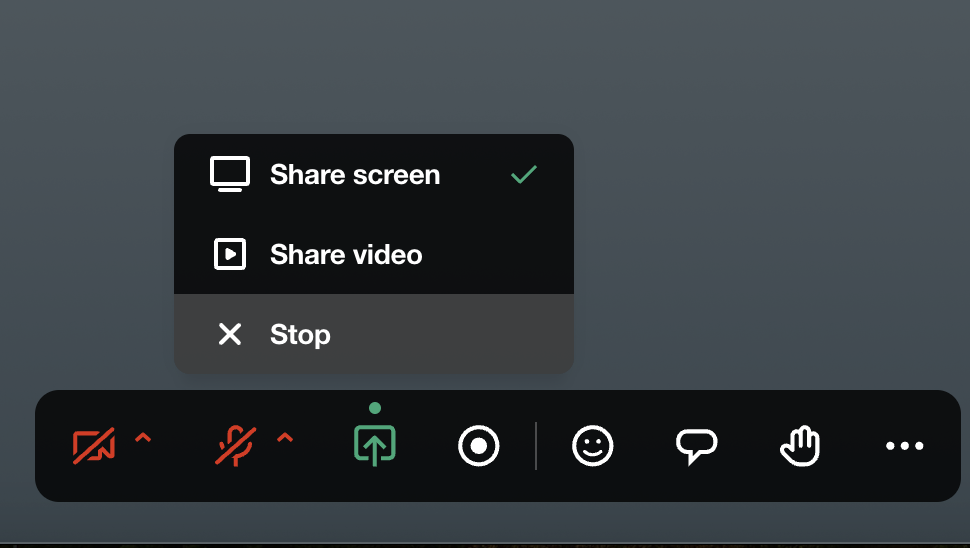
- Navigate to the action toolbar and select "Present to Stage."
-
Select Stop.
- Your presentation will stop and open up the stage for other presenters.
Present via RTMP
You can manage your stage presentation via an external encoder such as Livestream Studio or any other you prefer.
Before your event, ensure your network firewall is configured according to our recommendations to ensure your encoder can communicate with your venue on Vimeo.
Recommended encoder settings:
The player inside the venue currently does not support adaptive streaming, meaning each attendee will receive the exact resolution and bitrate that you are sending through. Because of this, we recommend encoding your stream at 720p, 30 frames per second, and 2-5 Mbps to maximize the bandwidth that an average attendee's internet connection can handle. Read more at What are the differences between live broadcasts and venues?.
To stream to a venue stage via RTMP
-
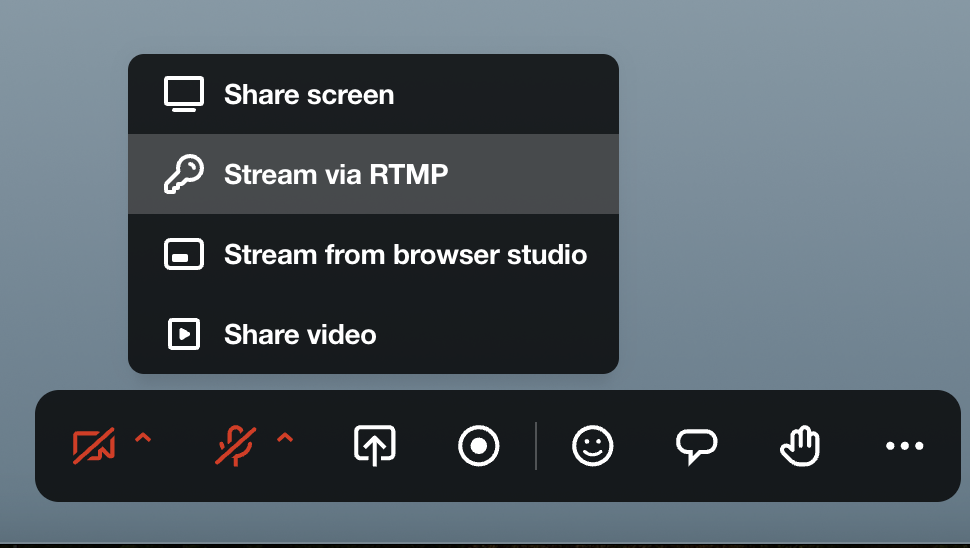
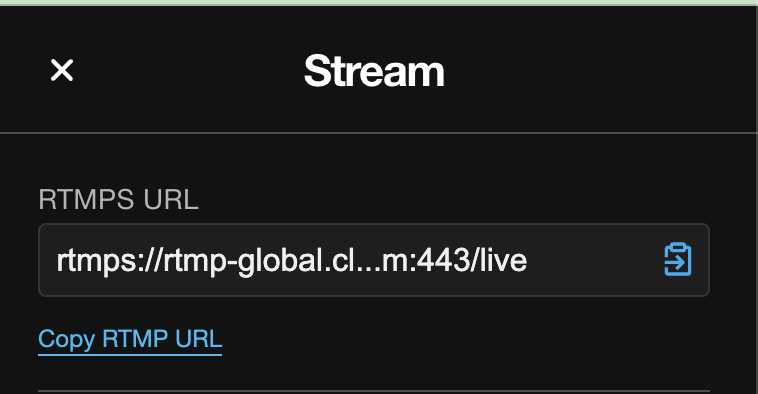
Navigate to the Present to stage icon and select Stream via RTMP. This will activate an RTMP connection.
-
The menu will refresh. Select Copy RTMP URL to copy the RTMP URL to your system's clipboard and paste it into your encoder's URL field.
-
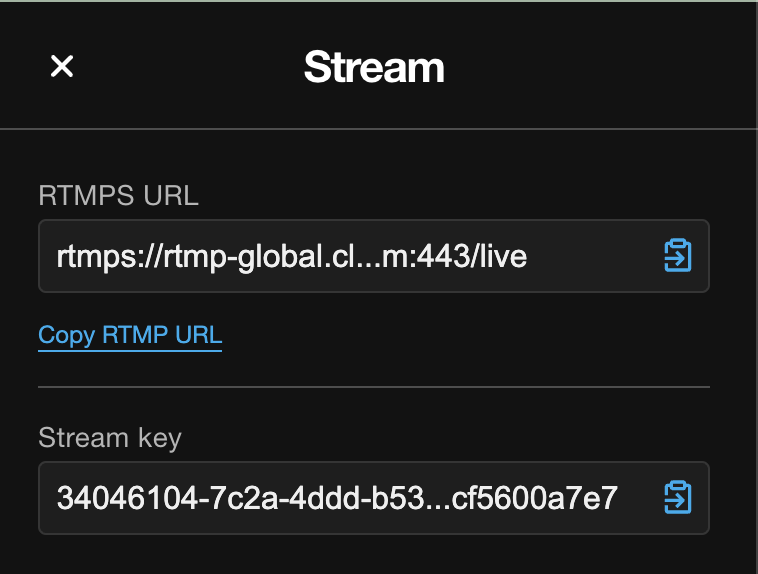
In your venue space, select 'Stream key' to copy the stream key to your system's clipboard and paste it into your encoder's stream key field.
- Start streaming from your encoder.
- Your encoder's output will appear on stage in your venue space, and you can proceed with your event.
To stop streaming to the stage, you can either:
- Stop the stream in your encoder, or
-
Navigate to the action toolbar and select Stop presenting
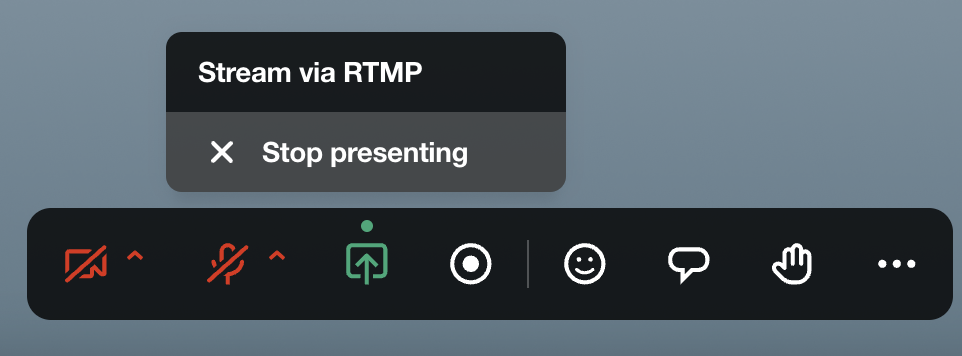
⚠️ Note: The RTMP connection will time out if it remains inactive for more than five minutes. Therefore, we recommend activating the RTMP stage within the space when you're ready to go live. If this happens, use the Stop option in the action toolbar and then select RTMP to reset the connection. The RTMP URL and stream key for that space will not change.
Present via browser-based production studio
You can utilize our web-based production tool to incorporate additional production elements, such as speakers, graphics, and prerecorded videos, into your event.
💡Tip: This works best if you have one person operating the production and at least one other moderating the venue.
To stream via our browser studio:
-
Navigate to the Present to stage icon and select Stream from the browser studio
-
You will see a message indicating that you will leave the venue; we do not recommend having both the venue and production environments open on the same system. Click on Leave venue to proceed.
-
You will be brought into the web-based production tool for your venue's space, with your camera as the default scene. From here, you can configure all the production elements of your event, including graphics, videos, invite guest speakers, and audience interaction elements.
- When you are ready to present to the venue stage, click"n Go li" in the upper right corner.
- After a moment, the scene in your stream output will appear on your venue's stage, and you can proceed with your event.


To stop your browser stream, you can either:
- Click End event in the upper right corner of the web-based production tool, or
-
Navigate to the action toolbar and select Stop
Present yourself on camera on stage.e
There are two ways to do this:
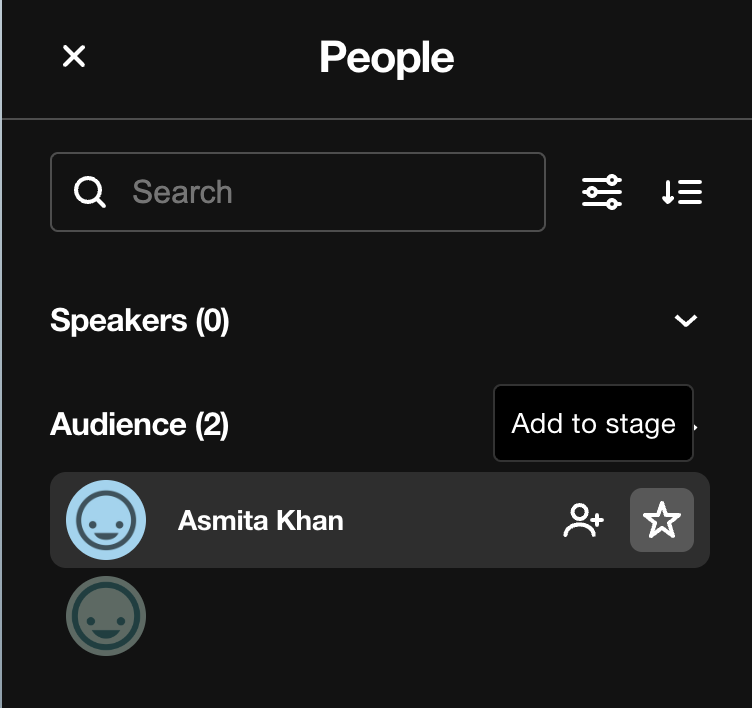
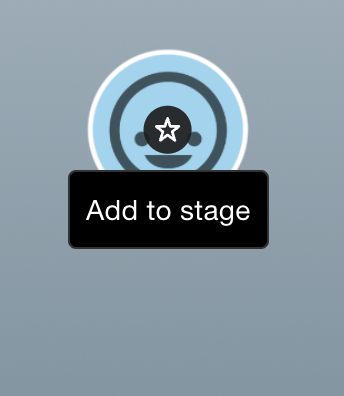
Add yourself through the People panel:
- Click the People icon in the top right corner.
-
Hover over your name and click the star icon to add to the stage.
- You will now be able to present on stage with your camera on.
To add through the avatar:
- Hover over your avatar in the main event view.
-
Click the star icon that appears in the pop-up menu.
- You will now be able to present on stage with your camera on.
Share Vimeo videos on stage in your Venue events
Elevate your virtual events by seamlessly incorporating Vimeo videos directly onto the stage.
To share Vimeo videos on stage:
-
Open the Present to stage icon located in the bottom navigation bar.
-
Select Share Video to open your Vimeo account library.
-
Browse or search for the video you want to share.
⚠️Note: Only public and unlisted videos will be visible. Private or password-protected videos must be changed to public or unlisted to be shared on stage.- Scroll: Navigate through the available folders and videos.
- Search: Click the search icon and enter a file name to search.
-
Add New Video: Click the + icon to upload a new video to your library.
-
Hover over the video and click Present.
-
Click the play icon in the video player.
-
To stop presenting, access the Present to stage menu again and select Stop.
⚠️Tip: To ensure a smooth experience, make sure the privacy settings of the videos you want to share are set to either Public or Unlisted within your Vimeo library.
Who Can Share Videos
Videos can be shared by:
- Event hosts
- Account administrators
- Team members
- Contributors
Available Video Library
- The event owner's account library or team account library.
- Personal libraries of users not part of the event creator's team will not be accessible.