This feature requires an Enterprise plan with the Events feature added.
This article covers the global venue settings and discusses how to configure each setting for a seamless venue experience.
In this article:
- Managing global settings
- Cover settings
- Schedule settings
- Agenda settings
- Speaker settings
- User profile fields settings
- Privacy settings
- Embed settings
- Advanced settings
- Analytics
- Attendee Management settings
- Redirect settings
- How to enable team access to private venues events
Managing global settings
Owners, Admins, and Contributors Plus team members can manage venues. You can adjust team member permissions on the team management page.
A settings icon on the top right corner of your screen on any venue page will open the Venue settings. You can manage the majority of customizations and permissions from here for the global venue.
Cover settings
The cover page is what you see first after you create a venue and is what your attendees see when they first open a link to your venue. In the Cover settings panel, you can customize the visual appearance of the Venue.
- Hover over the LOGO box and click on it to upload a logo.
- Hover over the blue background box and click on it to customize the background on the cover page. You can either upload a new image from your device or search Unsplash in the panel that opens for a stock background image.
- You can also add a Title and a Description to your event.
-
Select Accent color to choose a different accent color for your venue (e.g. the Enter the venue button).
Schedule settings
In the Schedule panel, you can set the schedule for your event if necessary. This communicates to your audience when your event is and enforces when the doors to your virtual venue open and close (in other words, you can dictate when your audience can be inside the venue).
Here you can configure:
- Start date and time of your event. This determines when the virtual doors to your venue open, allowing attendees to enter.
- End date and time of your event. This determines when the virtual doors to your venue close, which will prevent attendees from entering and remove any attendees already inside the venue.
- Time zone, which should be set to your local time zone and allow you to schedule the event times based on your time zone. Attendees will see the time in their local time zone.
- Recurring event, which is best if this event will occur on a repeating basis. Toggling this on allows you to set the recurring schedule. Doors will open and close based on the recurring days set here and the times set in the above setting.
- Speakers can enter closed venue, which allows any attendee you designate as a speaker to enter the venue even if the doors are closed.
Agenda settings
The Agenda settings is where you can display the topics being discussed during your event. For each topic, you can:
- Add a Title, Description, and which Speakers will present for each topic.
- You can also click into any topic and click Remove at the bottom of the panel to remove it.
- Make sure the speakers are registered for the event and designated as speakers before the event begins.
Speaker settings
Any attendee who has registered for the venue will show up in the selection list to be designated as a speaker. This designation does not give the attendee any additional functionality. The Admin will provide permission to attendees to show up in the list of speakers.
User profile fields settings
User Profile Fields allows you to customize your venue's registration form. In this panel, you will find:
- Name: is included by default and is required.
- Location: Allows attendees to include their location. You can toggle this on or off
- Privacy policy: Because this is an information collection field, we recommend linking to your privacy policy here.
- + Field: Add a custom registration field. You can choose to make them either Plain Text or Select.
Read more at 'How to create and edit your venue's registration form'.
Privacy settings
You can adjust your venue's privacy settings in Venue Settings > Privacy. The options you can select are:
- Public: Anyone can enter the venue and watch your event without registering or logging into their Vimeo account.
- Private: This restricts access to your venue to only you and team members on your Vimeo account.
- Password: This will require attendees to enter a password in order to enter the venue.
- Unlisted: Anyone with the link to the venue can access it, but it cannot be discovered via search engines.
- Hide from Vimeo: The venue can only be viewed if it's embedded on another site. It is not available to watch on vimeo.com.
You can also set the Embed privacy in this panel. Those options are:
- Anywhere: The venue can be embedded on any website.
- Nowhere: The venue cannot be embedded on any website.
- Specific domains: The venue can be embedded on domains that you list in the field that appears. Enter the domain, then click the (+) button to add it.
Embed settings
The embed privacy settings described above can also be configured in the Embed panel. Once your embed privacy settings are configured, click Copy embed code to copy the venue's embed code and paste it into your website's HTML editor.
Advanced settings
You can edit more settings for your venue in the Advanced Settings menu. In this menu, you can select:
- Whether speakers can join a venue, even if the doors are closed.
- Whether attendees can create public spaces that other attendees can join. This is disabled by default.
- Whether attendees can send 1:1 text chat messages to one another in the venue.
- Whether attendees can invite other attendees to a 1:1 private video/voice chat.
- Whether to allow attendees to see the option for closed captioning in the player.
- Currently, English is the only supported language for automated captions, and captions generated within Venues will not appear in Venues recordings. When Venue recordings are complete, they will get transcribed like any other uploaded video.
- Changing the default background image for the spaces. You can upload your own image or search our stock images).
- The type of default avatars shown for attendees with no profile images.
- Whether default avatars display the attendees' initials.
- The age rating for reactions. You can also select a fixed set of reactions or turn reactions off.
- Whether to allow attendees to record a custom reaction with their camera.
- Whether the recording of your event should include recording audience members and reactions.
-
Whether to show you Fake attendees to fill spaces. In each space's settings, you can determine the number of fake attendees shown and the behavior of their reactions. Note that these fake attendees will only show for you, not everyone in the venue.
- Whether to show or hide the viewer count in the venue.
Analytics
The Analytics panel will show you the event analytics which covers:
- The total number of registrations the event has
- The total number of attendees
- The percentage of turnout (i.e. how many registrants attended the event)
- Peak attendance (i.e. the highest number of concurrent attendees the event had)
- Average time attendees spent within the venue
Attendee Management settings
The Attendee Management settings show you the names and email addresses of the registrants, the date they registered, and whether or not they attended the event.
Select the down arrow button in the upper right corner to export as CSV file of all attendee information and the information from their registration fields.
Note: This will not include anonymous viewers.
Click the X icon in the far upper right corner to return to the main venue settings menu.
Redirect settings
The Redirect settings allow you to prompt attendees arriving at the venue to go to a different page if the doors are closed or if you determine you will not be using the venue for your event.
You can select from the drop-down menu if you want to redirect only your new attendees, all attendees, or automate it for everyone once the doors close for the event.
You then need to add the URL, a message, and button text to enable the redirect.
When you enable the Redirect button after the doors close, it will notify attendees to go to the new URL. This is useful for prompting attendees to go to a backup stream in case you encounter technical difficulties in your current event.
How to Enable Team Access to Private Venues Events
Create a new folder within your Vimeo library by clicking the New Folder button, or utilize a previously created folder. Learn how to create a folder.
Grant access to this folder for team members requiring visibility into the private venue event.
To manage your team and add new members:
- Click on your profile icon, then select "Manage Team."
- Follow the steps outlined in the guide: "How to Add Team Members to Your Account."
To add a venue to a folder:
- Locate the private venue event in your Live Events folder in your Library.
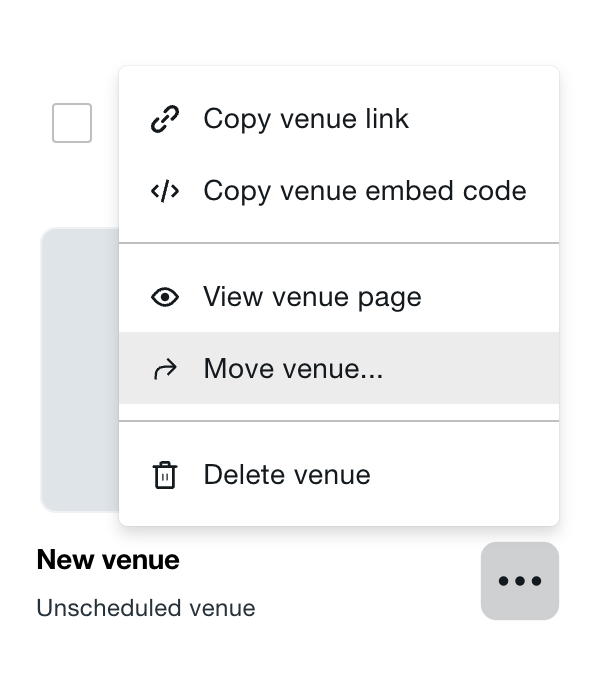
- Click the ellipsis (...) menu next to the venue event
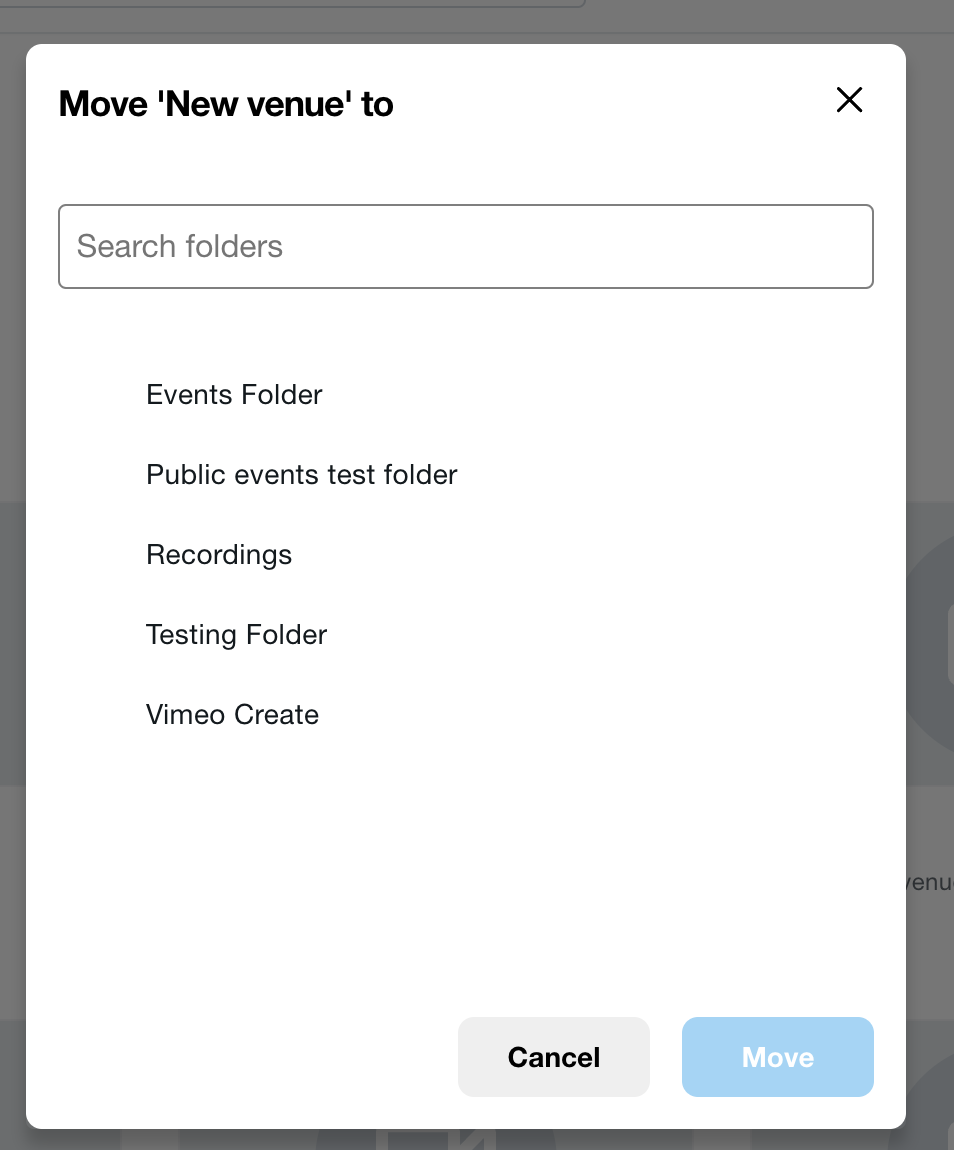
- Select "Move Venue" from the dropdown options.
- You can choose the folder you created in Step 1 as the destination for the private venue event.
Following these steps, you can effectively control access to your organization's private venue events, ensuring only authorized team members can view and interact with the content as needed.